There really is a lot of work running and managing a web site effectively. Not only does your site need to be updated with new and fresh content, but then you have to update the many different social media pages to get the word out. It is quite helpful that some of these social media options can be combined so your presence is directly connected to your website.
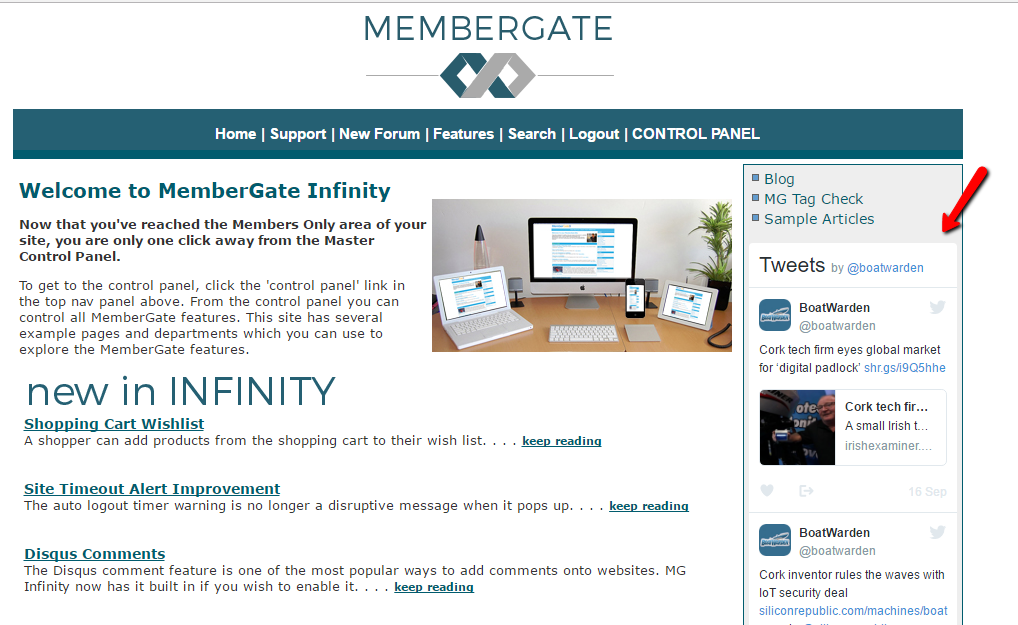
I am sure that you have visited other websites and noticed that they have a live Twitter timeline also showing on the page. This means that whatever they have posted on Twitter now shows on their website as well.
This timeline can also be added to your MemberGate pages in a fairly painless way.
Grab the Widget Script From Twitter
- From Your Twitter Account go to 'Settings' and click 'Widgets' in the left nav

- Click the Create New button and select 'Profile'

- Enter the username of the Twitter user account that you would like to add to your site. Then click the arrow on the right

- Choose embedded timeline

- Click the Copy Code button.

- ***If you would like to adjust some of the default settings, 'Set Customization Options' link.

That's it for the Twitter side of things. See below for the next steps to add the code to your MemberGate site.
Add the Embed Code to a Nav Bar on your MemberGate Site

First Add the code as a Custom Script
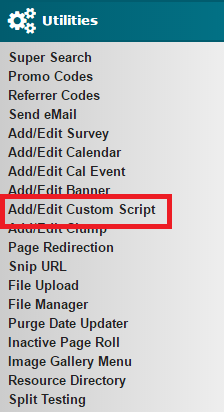
1. Under 'Utilities' choose 'Add/Edit Custom Script'

2. Choose to add a New script from the drop down menu. Paste the Twitter Code into the 'Custom Script' box.

3. Set the 'Status to 'Active' and press 'Add this Custom Script'
4. Copy the CF tag provided on the resulting screen.

Then Add the Custom Script to a Category
1. Under 'Categories' choose 'Add Category'

2. Name the category and adjust the settings for where the category should show.
3. Set the 'Status to 'Active'
4. Paste the CF tag into the 'Script for this Category' box

And that's it! The Twitter timeline will now show in your the nav panel on your pages!


